【FastAPI】APIドキュメントに説明を追加する【入門】
当ページのリンクには広告が含まれています。
FastAPIにはとても便利な自動生成されるAPIドキュメントがあります。
このドキュメントはタグで分類したり、任意の説明文章を追加することが簡単にできますのでご紹介いたします。
FastAPIの基礎についての記事まとめ
目次
基本形
下記を基本形として追記していきます。
@app.get('/article/all')
def get_article(username: Optional[str] = None, is_display: bool = True):
    return {'message': f'article all query {username} and {is_display}'}
タグの追加
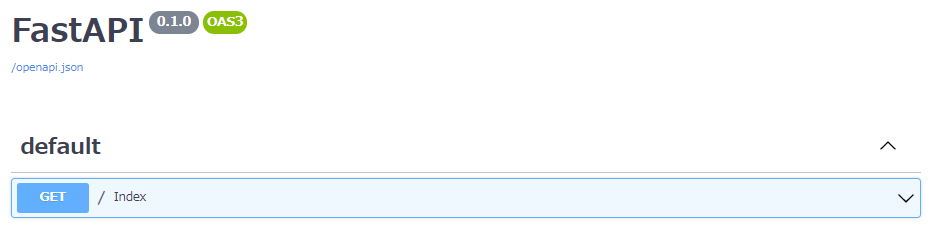
通常は、見出しにdefaultと表記されますが、デコレーターにtags=['tag_name']とすることで任意のタグをつけることが出来ます。
@app.get('/article/all', tags=['article'])
def get_article(username: Optional[str] = None, is_display: bool = True):
return {'message': f'article all query {username} and {is_display}'}articleタグを付けてみると・・・

きちんと分類されています。このようにエンドポイントをタグで分類することが可能です。
説明文の追加
主に追加できる説明文は
- sumnmary
- description
- response_description
があり、docstringによる記載も可能です。
あわせて読みたい
Path Operationの高度な設定 – FastAPI
FastAPI framework, high performance, easy to learn, fast to code, ready for production
@app.get(
    '/article/all',
    summary='All Articles',
    description='Get All Articles',
    response_description='response',
    tags=['article']
    )
def get_article(username: Optional[str] = None, is_display: bool = True):
    return {'message': f'article all query {username} and {is_display}'}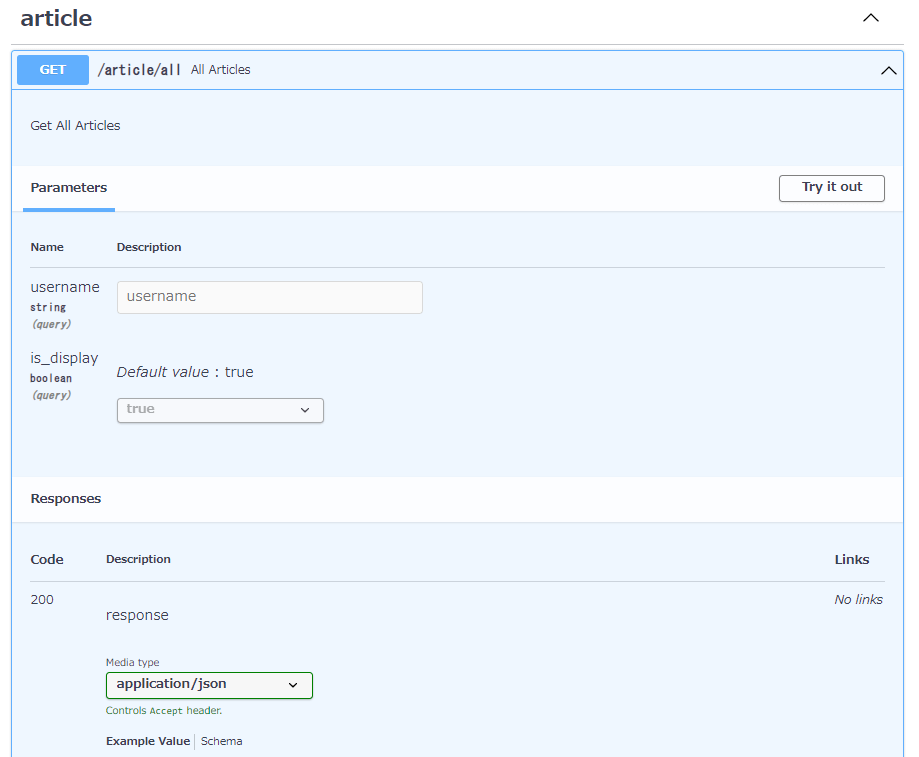
docstringで記載する場合には
@app.get(
    '/article/all',
    response_description='response',
    tags=['article']
    )
def get_article(username: Optional[str] = None, is_display: bool = True):
    """
    Get All Articles

    - ***username*** optional username
    - ***is_display*** default True

    docstring

    """
    return {'message': f'article all query {username} and {is_display}'}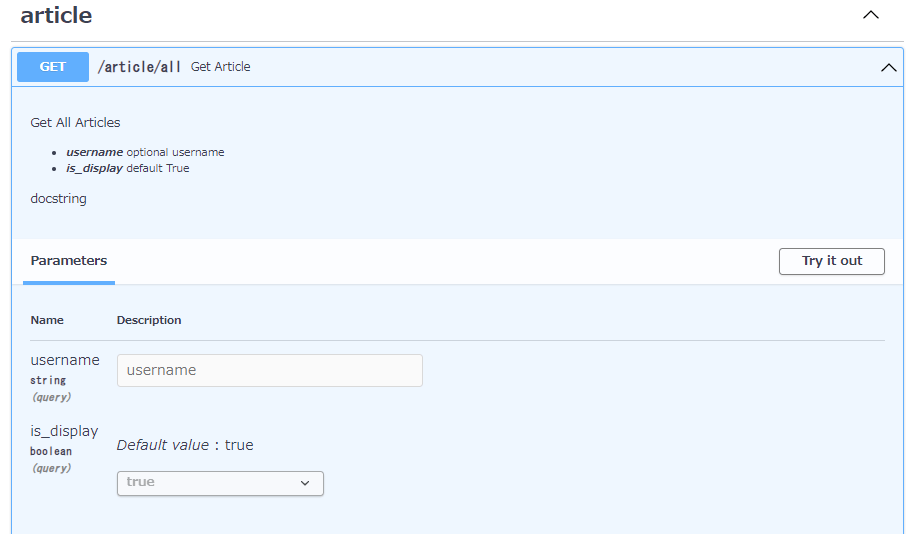
こんな感じで記載されます。便利!
FastAPIの基礎についての記事まとめ
コメント