【django】メールアドレスを使った認証のモデル作成方法

django標準モデルでは、ユーザー名とパスワードによる認証が用いられています。
しかし、現在ではメールアドレスを使った認証方法が主流であるため、一部を書き換える必要があります!
備忘録としてご紹介。
- メールアドレス認証を使いたい人
- 色々試したけど、てこづった人←私
Django/DjangoRESTframeworkについて記事まとめ
作成手順
モデルの作成手順は以下となります。
- accountsアプリの作成
- accounts.models.pyを編集してカスタムユーザー(Userモデル)作成
- accounts.admin.pyを編集して管理画面のカスタマイズ
- settings.pyの追記
- データベースのマイグレーションとユーザーの追加
- 管理画面の確認
以上です。
Userモデルの仕組み
djangoのユーザーモデルはデフォルトでUserモデルが存在します。
このUserモデルを拡張・修正することにより、自分に合ったモデルを作成できます。
また、Userモデルは
- AbstractBaseuser
- PermissionMixin
を多重継承したAbstractUserをベースとしており、オーバーライドして修正していきます。
Userモデルの作成手順
それでは早速メールアドレス認証のUserモデルを作成していきます。
djangoのプロジェクト作成は下記を参照ください。
Userモデル用のアプリの作成
Userモデルを作成する用のアプリを作成します。
$ python manage.py startapp accounts現在のディレクトリは下記構造です。
│  manage.py

├─accounts

├─config
├─static
└─templates
accounts.models.pyの編集
続いてモデルの作成です。accounts.models.pyに下記コードを記入ください。
from django.db import models
from django.core.mail import send_mail
from django.contrib.auth.models import PermissionsMixin
from django.contrib.auth.base_user import AbstractBaseUser
from django.utils.translation import ugettext_lazy as _
from django.utils import timezone
from django.contrib.auth.base_user import BaseUserManager


class UserManager(BaseUserManager):


    use_in_migrations = True

    def _create_user(self, email, password, **extra_fields):

        if not email:
            raise ValueError('The given email must be set')
        email = self.normalize_email(email)

        user = self.model(email=email, **extra_fields)
        user.set_password(password)
        user.save(using=self._db)
        return user

    def create_user(self, email, password=None, **extra_fields):
        extra_fields.setdefault('is_staff', False)
        extra_fields.setdefault('is_superuser', False)
        return self._create_user(email, password, **extra_fields)

    def create_superuser(self, email, password, **extra_fields):
        extra_fields.setdefault('is_staff', True)
        extra_fields.setdefault('is_superuser', True)

        if extra_fields.get('is_staff') is not True:
            raise ValueError('Superuser must have is_staff=True.')
        if extra_fields.get('is_superuser') is not True:
            raise ValueError('Superuser must have is_superuser=True.')

        return self._create_user(email, password, **extra_fields)


class User(AbstractBaseUser, PermissionsMixin):


    email = models.EmailField(_('email address'), unique=True)
    first_name = models.CharField(_('first name'), max_length=30, blank=True)
    last_name = models.CharField(_('last name'), max_length=150, blank=True)

    is_staff = models.BooleanField(
        _('staff status'),
        default=False,
        help_text=_(
            'Designates whether the user can log into this admin site.'),
    )
    is_active = models.BooleanField(
        _('active'),
        default=True,
        help_text=_(
            'Designates whether this user should be treated as active. '
            'Unselect this instead of deleting accounts.'
        ),
    )
    date_joined = models.DateTimeField(_('date joined'), default=timezone.now)

    objects = UserManager()

    EMAIL_FIELD = 'email'
    USERNAME_FIELD = 'email'
    REQUIRED_FIELDS = []

    class Meta:
        verbose_name = _('user')
        verbose_name_plural = _('users')

    def get_full_name(self):
        """Return the first_name plus the last_name, with a space in
        between."""
        full_name = '%s %s' % (self.first_name, self.last_name)
        return full_name.strip()

    def get_short_name(self):
        """Return the short name for the user."""
        return self.first_name

    def email_user(self, subject, message, from_email=None, **kwargs):
        """Send an email to this user."""
send_mail(subject, message, from_email, [self.email], **kwargs)UserManagerはBaseUserManagerを継承しています。
アカウント作成時に、メールアドレス認証とパスワードに変更しています。
# UserManager

def create_user(self, email, password=None, **extra_fields):
        extra_fields.setdefault('is_staff', False)
        extra_fields.setdefault('is_superuser', False)
return self._create_user(email, password, **extra_fields)UserはAbstractBaseUserとPermissionMixinを継承しています。
ポイントとしては
- emailをユニークな値に変更
- USERNAME_FIELDをemailに変更
に修正しています。
djangoではUSERNAME_FIELDを認証フィールドに用いるため、emailに変更しています。
accounts.admin.pyの編集
admin.pyでは、django管理画面の表示を修正できます。
from django.contrib import admin
from django.contrib.auth.admin import UserAdmin
from django.contrib.auth.forms import UserChangeForm, UserCreationForm
from django.utils.translation import ugettext_lazy as _
from .models import User


class MyUserChangeForm(UserChangeForm):
    class Meta:
        model = User
        fields = '__all__'


class MyUserCreationForm(UserCreationForm):
    class Meta:
        model = User
        fields = ('email',)


class MyUserAdmin(UserAdmin):
    fieldsets = (
        (None, {'fields': ('email', 'password')}),
        (_('Personal info'), {'fields': ('first_name', 'last_name')}),
        (_('Permissions'), {'fields': ('is_active', 'is_staff', 'is_superuser',
                                       'groups', 'user_permissions')}),
        (_('Important dates'), {'fields': ('last_login', 'date_joined')}),
    )
    add_fieldsets = (
        (None, {
            'classes': ('wide',),
            'fields': ('email', 'password1', 'password2'),
        }),
    )
    form = MyUserChangeForm
    add_form = MyUserCreationForm
    list_display = ('email', 'first_name', 'last_name', 'is_staff')
    list_filter = ('is_staff', 'is_superuser', 'is_active', 'groups')
    search_fields = ('email', 'first_name', 'last_name')
    ordering = ('email',)


admin.site.register(User, MyUserAdmin)
config.settings.pyの編集
settings.pyでは
- accountsアプリの追加
- 認証モデルの指定
を行います。
# settings.py

INSTALLED_APPS = [
    'django.contrib.admin',
    'django.contrib.auth',
    'django.contrib.contenttypes',
    'django.contrib.sessions',
    'django.contrib.messages',
    'django.contrib.staticfiles',
    'accounts' //追記
]

AUTH_USER_MODEL = 'accounts.User' //追記AUTH_USER_MODELはdjangoにどのモデルをUserモデルとして使うか明示しています。
これで準備完了です。
マイグレーション
データベースをマイグレーションします。python manage.py makemigrationsでマイグレーションファイルを作成して・・・
$ python manage.py makemigrations
Migrations for 'accounts':
  accounts\migrations\0001_initial.py
    - Create model User
python manage.py migrateでマイグレーションです!
$ python manage.py migrate
Operations to perform:
  Apply all migrations: accounts, admin, auth, contenttypes, sessions
Running migrations:
  Applying contenttypes.0001_initial... OK
  Applying contenttypes.0002_remove_content_type_name... OK
  Applying auth.0001_initial... OK
  Applying auth.0002_alter_permission_name_max_length... OK
  Applying auth.0003_alter_user_email_max_length... OK
  Applying auth.0004_alter_user_username_opts... OK
  Applying auth.0005_alter_user_last_login_null... OK
  Applying auth.0006_require_contenttypes_0002... OK
  Applying auth.0007_alter_validators_add_error_messages... OK
  Applying auth.0008_alter_user_username_max_length... OK
  Applying auth.0009_alter_user_last_name_max_length... OK
  Applying auth.0010_alter_group_name_max_length... OK
  Applying auth.0011_update_proxy_permissions... OK
  Applying auth.0012_alter_user_first_name_max_length... OK
  Applying accounts.0001_initial... OK
  Applying admin.0001_initial... OK
  Applying admin.0002_logentry_remove_auto_add... OK
  Applying admin.0003_logentry_add_action_flag_choices... OK
  Applying sessions.0001_initial... OK
無事マイグレーションできました。ユーザーを作成し、管理画面を確認してみましょう!
ユーザーの作成
django管理サイトにログインするため、ユーザーを作成します。python manage.py createsuperuserで作成します。
$ python manage.py createsuperuser
メールアドレス: test@test.co.jp
Password:
Password (again):
Superuser created successfully.
メールアドレスとパスワードが求められ、入力すれば完了です。
django管理画面にログインして確認
管理サイトにログインして確認してみましょう。
Webサーバー起動はpython manage.py runserverです。
$ python manage.py runserver
Watching for file changes with StatReloader
Performing system checks...

System check identified no issues (0 silenced).
February 21, 2021 - 22:21:33
Django version 3.1.6, using settings 'config.settings'
Starting development server at http://127.0.0.1:8000/
Quit the server with CTRL-BREAK.http://127.0.0.1:8000/adminをブラウザでアクセスします。
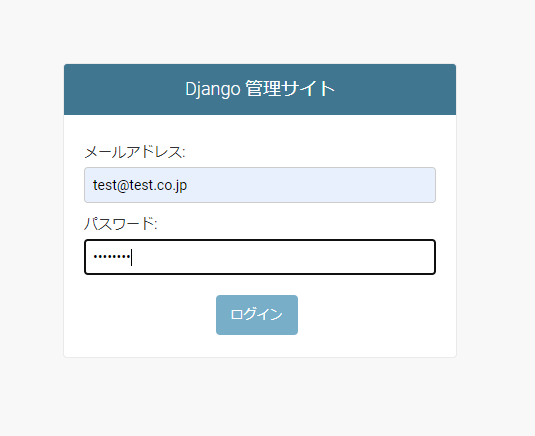
先ほど作成したユーザーでログインすると・・・
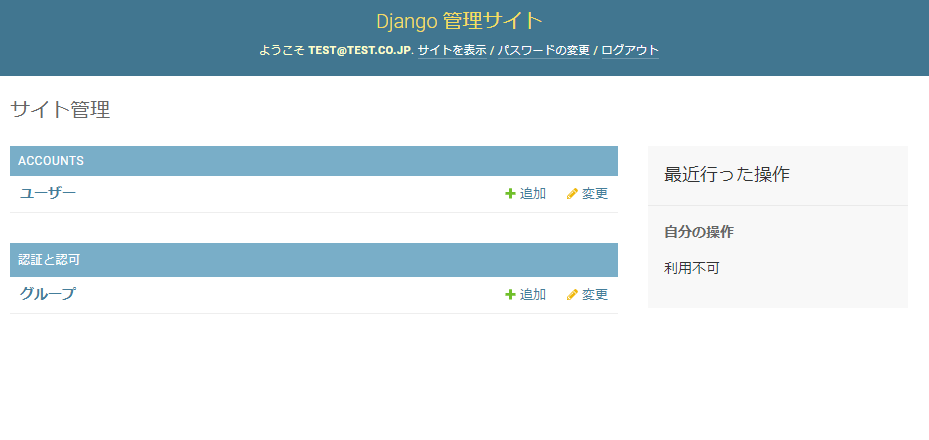
メールアドレスでのログイン認証大成功です!
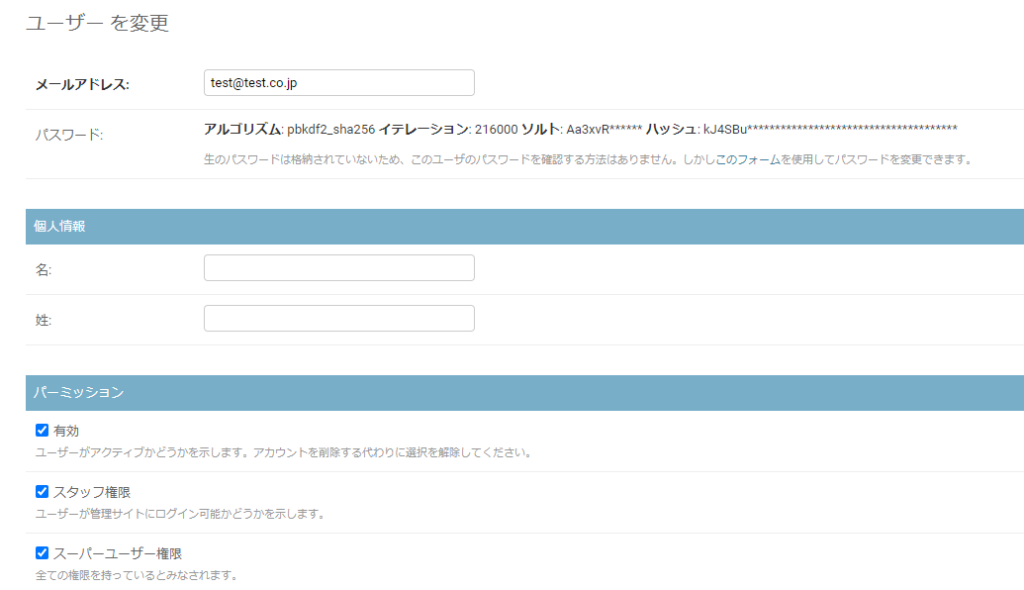
ユーザー詳細画面を確認してみましょう。
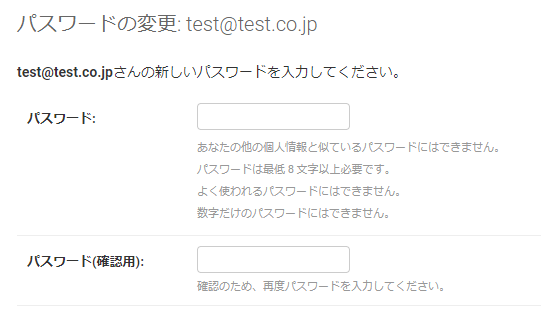
パスワードも変更可能です!すごい!
まとめ
いかがでしたか?djangoのメールアドレス認証はいくつか記事があるのですが、私はアプリ作成中盤にUserモデルを修正したので、めちゃくちゃ苦戦しました。
今後もメールアドレス認証を使ってdjangoで沢山アプリ作ります!
コメント