【django】Dockerで簡単に開発環境を構築【MySQL】
当ページのリンクには広告が含まれています。

Djangoの開発環境を構築する際に、Docker・docker-composeを用いる手順をまとめました。
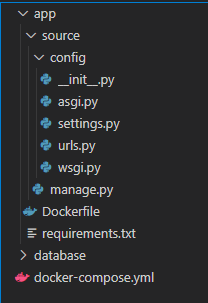
データベースはmysql5.7を使用します。ディレクトリは以下の構成で作成しました。
├─app
│  └─source
└─databaseappにdjango関連、databaseにmysqlのファイルが保管されるように設定します。
Django/DjangoRESTframeworkについて記事まとめ
目次
Dockerfile・docker-compose.ymlの作成
手順としては
djangoのpythonイメージのDockerfileの作成pythonパッケージファイルのrequirements.txtの作成mysqlのイメージ設定を含んだdocker-compose.ymlの作成
となります。
Dockerfile
django用の環境を作成します。
FROMpython3.8を指定ENV PYTHONBURRERED=1標準出力・標準エラーのストリームのバッファリングを行わないWORKDIR操作するファイルの絶対パスを指定COPYローカルからファイルをコピーRUNコマンドの実行
FROM python:3.8
ENV PYTHONBURRERED=1
WORKDIR /django
COPY requirements.txt requirements.txt
RUN pip3 install -r requirements.txt
requirements.txt
ここでは、djangoとmysql操作用のパッケージを指定しています。
Django
mysqlclient
docker-compose.yml
version: '3'

services:
  app:
    container_name: app
    build: ./app
    volumes:
     - ./app/source:/django
    ports:
     - 8000:8000
    image: app:django
    command: python manage.py runserver 0.0.0.0:8000
    depends_on:
      - db
  db:
    image: mysql:5.7
    container_name: mysql
    volumes:
      - ./database/data:/var/lib/mysql
    ports:
      - 3333:3306
    environment:
      MYSQL_DATABASE: 'django'
      MYSQL_ALLOW_EMPTY_PASSWORD: 'true'
docker-composeの実行
docker-compose buildでビルドし
$ docker-compose build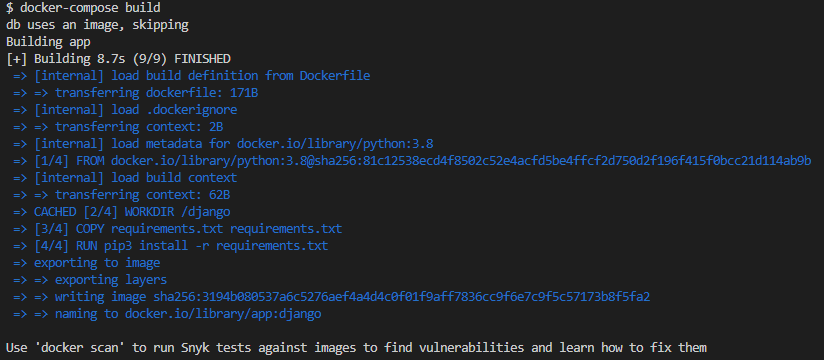
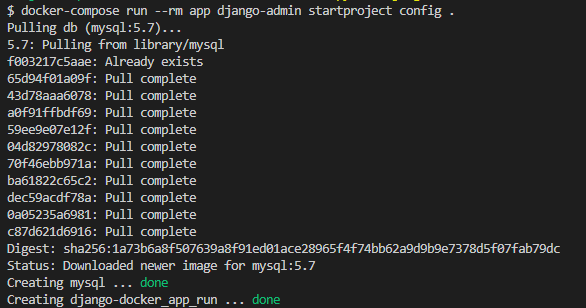
ビルドできたら、docker-compose run で、djangoのプロジェクトを作成します。
docker-compose run --rm app django-admin startproject config .新しくmysqlのイメージがダウンロードされていることが確認できます。
プロジェクト内にはdjangoの自動生成ファイルが確認できました。
データベースの接続設定を修正(settings.py)
djangoのconfig/settings.pyのDATABASESを修正します。
標準のsqlite3からmysqlへ接続設定を変更しました。
DATABASES = {
    'default': {
        'ENGINE': 'django.db.backends.sqlite3',
        'NAME': BASE_DIR / 'db.sqlite3',
    }
}

↓↓↓↓↓↓↓↓↓↓↓↓

DATABASES = {
    'default': {
        'ENGINE': 'django.db.backends.mysql',
        'NAME': 'django',
        'USER': 'root',
        'PASSWORD': '',
        'HOST': 'db',
        'PORT': 3306,
    }
}
django側でデータベースのマイグレーション
djangoのappコンテナに入リます。
$ docker exec -it app bash

root@a30b8889bf59:/django#
入ったらデータベースのマイグレーションを行います。
python manage.py migrate

Operations to perform:
  Apply all migrations: admin, auth, contenttypes, sessions
Running migrations:
  Applying contenttypes.0001_initial... OK
  Applying auth.0001_initial... OK
  Applying admin.0001_initial... OK
  Applying admin.0002_logentry_remove_auto_add... OK
  Applying admin.0003_logentry_add_action_flag_choices... OK
  Applying contenttypes.0002_remove_content_type_name... OK
  Applying auth.0002_alter_permission_name_max_length... OK
  Applying auth.0003_alter_user_email_max_length... OK
  Applying auth.0004_alter_user_username_opts... OK
  Applying auth.0005_alter_user_last_login_null... OK
  Applying auth.0006_require_contenttypes_0002... OK
  Applying auth.0007_alter_validators_add_error_messages... OK
  Applying auth.0008_alter_user_username_max_length... OK
  Applying auth.0009_alter_user_last_name_max_length... OK
  Applying auth.0010_alter_group_name_max_length... OK
  Applying auth.0011_update_proxy_permissions... OK
  Applying auth.0012_alter_user_first_name_max_length... OK
  Applying sessions.0001_initial... OK
新規ユーザーの作成
$ python manage.py createsuperuser
Username (leave blank to use 'root'): test
Email address:
Password:
Password (again):
Bypass password validation and create user anyway? [y/N]:
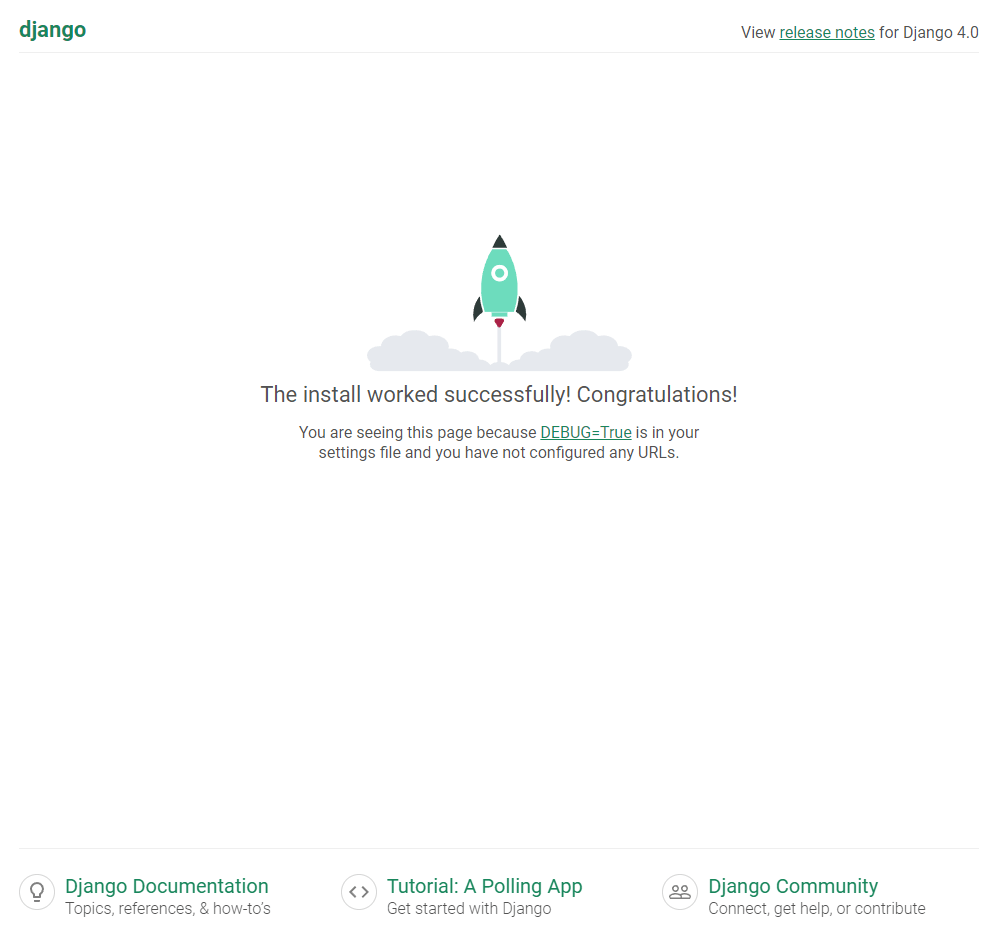
Superuser created successfully.ブラウザで確認
localhost:8000にアクセスすると
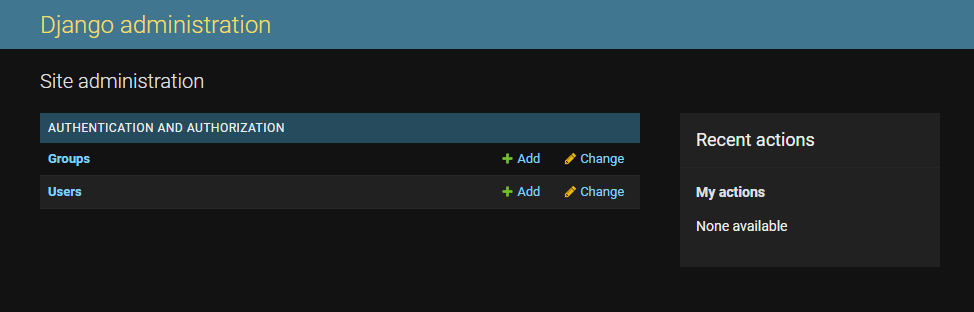
localhost:8000/adminの管理画面へも入れます。
データベースを直接確認する
データベースを直接確認する場合にはdocker exec -it mysql bashとします。
$ docker exec -it mysql bash

root@8628ea8748f4:/# mysql
Welcome to the MySQL monitor.  Commands end with ; or \g.
Your MySQL connection id is 10
Server version: 5.7.37 MySQL Community Server (GPL)

Copyright (c) 2000, 2022, Oracle and/or its affiliates.

Oracle is a registered trademark of Oracle Corporation and/or its
affiliates. Other names may be trademarks of their respective
owners.

Type 'help;' or '\h' for help. Type '\c' to clear the current input statement.

mysql> show databases;
+--------------------+
| Database           |
+--------------------+
| information_schema |
| django             |
| mysql              |
| performance_schema |
| sys                |
+--------------------+
5 rows in set (0.01 sec)
mysql> use django
Reading table information for completion of table and column names
You can turn off this feature to get a quicker startup with -A
Database changed
mysql> show tables;
+----------------------------+
| Tables_in_django |
+----------------------------+
| auth_group |
| auth_group_permissions |
| auth_permission |
| auth_user |
| auth_user_groups |
| auth_user_user_permissions |
| django_admin_log |
| django_content_type |
| django_migrations |
| django_session |
+----------------------------+
10 rows in set (0.01 sec)この様に簡単に確認できました。
Django/DjangoRESTframeworkについて記事まとめ
コメント